Tag Archives: food drawing

Autumn Foraging: Rose Hips

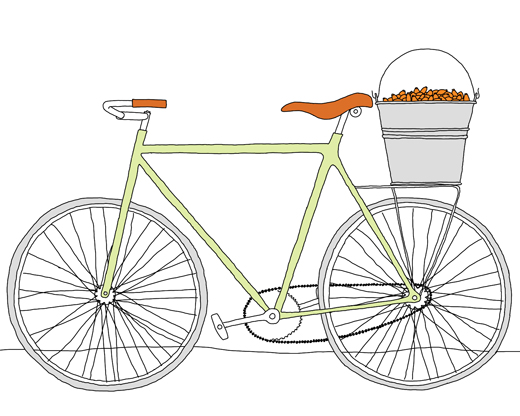
The other day I took my bike on a long long bike ride  to get to the sea through neighborhoods I never new existed. The idea was to get away from the city to breath fresh salty air and eat some newly caught clams. The bonus was that I got to pick ripe rose hips. The rose bushes where growing in the sand just at the edge of the beach. As a rose hip loving Swede, this was a happy moment and I picked as many as I could find.

Rose hips are very high in vitamin C and there are plenty of things to make with it. For example, the outer fruity part of the rose hip (often orange or red) can be dried and used for soup and tea (which can be done with the fresh fruit as well). A rose hip soup is very popular in Sweden especially among children. I love it. The soup can be eaten warm or cold, with ice cream or tiny almond cookies (mandel biskvier) that are best soaked in the soup. My favorite is to serve the soup while cross-country skiing, smoking hot directly from a thermos. I can’t think of a better energy treat than that!

If you ever have split open a rose hip you probably know that the hairy part that surrounds the seeds creates itchiness on your skin. Its annoying but totally harmless. (It’s actually used as an itching powder).

Fresh rose hips are often used to make jam, marmalade or jelly. You can also make schnapps, liqueur or, why not some rose hip sherry? My sister Anna Kindvall has become sort of an expert at making sherry out of rose hips. So well that a restaurant recently wanted to put it on their dessert wine list. In her wine cabinet you can find different vintages of the wine and like many other wines this wine gets better with age. The wine is sweet and flavorful. It works well with desserts or different kinds of cheeses. It’s also great in cooking and, I agree with my sister, a dash of rose hip sherry in a chantarelle sauce is heavenly.

My sister (and others) claims that the most flavorful rose hips are the once with long narrow fruits. I have also heard that the best time to pick them is after the 1st frost (however my sister picks them always before). Here in Brooklyn it’s still summer and the once I picked were all small and round (with a really nice aroma). I couldn’t get hold of winemakers yeast so I’m using instant yeast. Oh well, in time we will see how my batch of  wine will turn out.
Anna’s Rose Hip Sherry

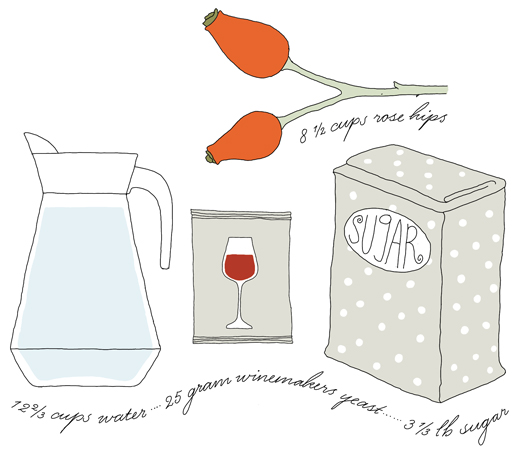
  • 8 ½ cups (2 liters) rose hips (preferably the long narrow fruits)
  • 3 1/3 lb (1 ½ kg) sugar
  • 12 2/3 cups (3 liter) water
  • 25 gr wine maker’s yeast (or fresh yeast, it might even work with instant yeast)

Roughly trim the rose hips but don’t rinse them with water as the surface contains natural yeast that are useful in the process (or that’s what I’ve heard). Make a sugar syrup by heating up the sugar together with the water. When the sugar has dissolved let it cool. Use some of the liquid to dissolve the yeast. Let the yeast start (there will be bubbles on the surface) before mixing with the rest of the sugar liquid and the rose hips in a bucket or a glass carboy. Cover the jar and let the wine sit still for three months. At this time the liquid should look clear and the rose hips have fallen to the bottom of the jar.

Tap the sherry into dark bottles (for example on 12 fl oz (33 cl) beer bottles). To avoid the sediment at the bottom Anna recommends spooning up the sherry instead of pouring (can be hard with a carboy). Seal with a suitable cork or cap. Let the sherry stand for at least one more month before drinking.

If you are patient enough to store it, or at least with some of it, my sister thinks it’s best to drink after 5 years.

This article was originally published at EcoSalon, 13 september 2012

In this Autumn Foraging Series also check out, Autumn Foraging – Apples with an Apple Cider Vinegar recipe

Ana’s Hazelnut Cake with Dark Chocolate

At the beginning of the summer I spotted a cake on twitter that I just couldn’t resist. It was a Chocolate & Hazelnut Cake by Ana Vega. The cake is not a dessert cake, its more like a breakfast cake or something perfect for an afternoon cup of tea. From Ana I later learned that the cake was a remake of her Plum cake corriente y moliente (plum cake with dried fruits). Sounds amazing, doesn’t it? Ana runs the cake & dessert blog Biscayenne (all in Spanish) where she share recipes and stories from her tiny kitchen in Bilbao. She also has an online vintage shop with pretty cutlery, porcelain and other kitchenware.

I have now baked this cake several times and just a few weeks ago I added some black cherries to the cake. It made it very moist and delicious. The cherries worked really well with the dark chocolate. I can also imagine adding some banana but in the end its absolutely fine just as it is.
I have only made a few changes to the recipe: Instead of regular sugar I used brown sugar. I also reduced the sugar as I wanted a less sweet cake, which Ana also suggest when using fruit in the cake.

Ana’s Hazelnut Cake with Chocolate

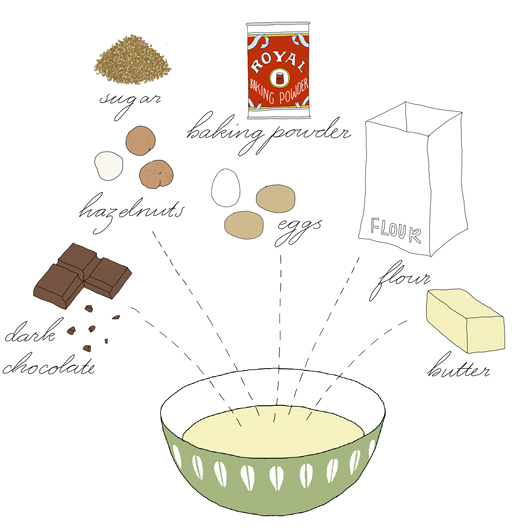
180g (7/8 Cup) brown sugar
3 eggs
250g (1 2/3 cup) flour
1 teaspoon baking powder
125g (a little more than 4 oz) butter
150g (1 cup) hazelnuts
60g (70%) (about 2 oz) dark chocolate

Melt the butter in a saucepan. Mill the hazelnuts finely in a food processor or nut grinder. (If you don’t have either just chop it finely). Chop the chocolate into small pieces. Beat eggs and sugar together before adding flour and baking powder. Blend well together to avoid any floury lumps in the batter. Pour in the melted butter and stir together before adding the milled hazelnuts and the chocolate.
Grease a loaf tin or similar mold and pour the batter into it. Bake the cake for 15 minutes 355°F (180°C). Lower the heat to 320°F (160°C) and continue baking until the top has a brown crisp crust and a toothpick comes out dry (about 40-45 minutes).

Enjoy at breakfast, brunch or with an afternoon tea!

This article was originally published at Honest Cooking on 12 September 2012


Grilled Spicy Shrimps

Instead of enjoying the Swedish summer by growing vegetables and foraging for berries and mushrooms, I have been stuck with NY’s summer heat. I can’t say it has all been miserable though, it just hasn’t been the same. In Sweden I would have picked wild black cherries instead of gluttonized on local peaches. I would also have picked yellow chanterelles instead of trying to grow my own oyster mushrooms. Its all good as both places have their own unique quality.

I have found it a little hard to be in my kitchen cooking when the city gets too hot and humid. Some nights I end up just eating cold watermelon with feta or something like that. Delicious and simple. Luckily we have had direct access to a really lovely garden so many dinners have been cooked outside on the terrace. Often vegetables such as eggplant, zucchini and field mushrooms (sliced up and simply marinated with herbs, garlic, olive oil and tamari) served together with steak, just barely grilled and thinly sliced.Other specialties are BBQ’d mussels and shrimps (see below). The mussels can be BBQ’d as is and eaten with squeezed lemon. You can also precook them and grill them topped with garlic butter and breadcrumbs.

Grilled Spicy Shrimps

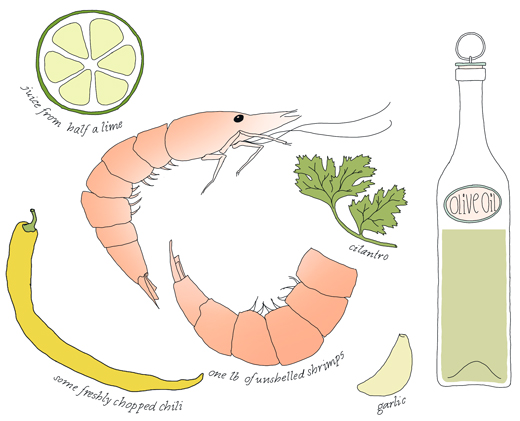
one lb un-shelled raw shrimps, small or medium
about ½ cup olive oil
juice from ½ a lime
fresh chili (what kind depends on how spicy you want the shrimps)
two cloves of garlic
plenty of cilantro
sea salt (seasoning)

Rinse the shrimps and let them dry. Mix together olive oil, lime juice and finely chopped cilantro, garlic & chili. Season with sea salt. Place all the shrimps on the grill on high temperature (but no flames). Turn the shrimps over to the other side when they have got some nice color (after about a minute). They are done when they are cooked through and they all have a nice pink color.
Drop the shrimps directly from the grill into the olive oil mixture. Stir around and serve immediately together with bread and salad.

This article was originally published at Honest Cooking, 27 August 2012

Before buying any fish check with Seafood Watch (US) for the most sustainable options.

Fresh Tomatoes for Pasta

One of the best things about summer are the variety of fresh tomatoes that are available at the food markets right now. My favorite tomato is the local Beefsteak tomato. The may look ugly but the taste is rich and flavorful.

I can’t get enough of them so I eat tomatoes almost every day, preferably with just a simple vinaigrette on a slice of homemade sourdough bread topped with mozzarella. The tomatoes are also great in a watermelon salad with feta cheese. Another of my recent favorites is a tomato salad with red onions, celery and middle eastern string cheese. The string cheese is often spiced with black cumin (Nigella sativa) which gives this pleasant cheese an interesting flavor.

As an appetizer, a fresh tomato salsa, spiced with cilantro, chili and garlic is never wrong. If I’m starving and too lazy in the summer heat I turn pretty much the same thing into a cool tomato sauce for pasta.

Fresh Tomato Sauce
(serves two persons)

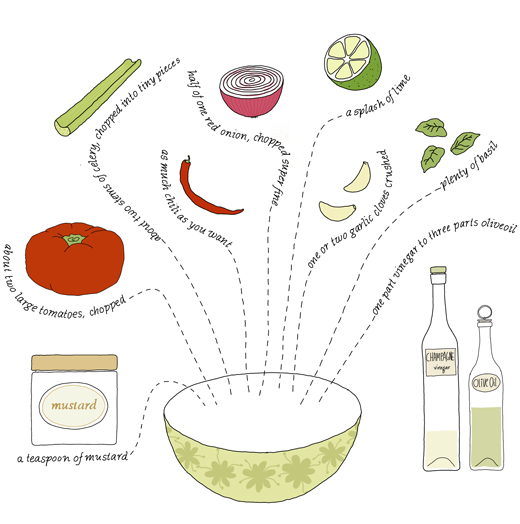
2 large tomatoes
½ red onion
Fresh chili pepper (amount depends on how spicy you want it)
Plenty of chopped fresh basil
2 garlic cloves
1 tablespoon champagne vinegar *
3 tablespoons olive oil
A dash of lime juice
One teaspoon mustard
Salt & pepper
Honey (optional)

Topping (suggestions)
Freshly grated Parmesan
Toasted sunflower seeds

Wash the tomatoes and chop them into smaller pieces. Chop the onion and the chili (adjust the strength to your own liking) into tiny tiny bits and pieces. Rinse the basil and chop the leaves roughly. Place all the prepared ingredients in a bowl and squeeze in 1-2 garlic cloves. Mix together vinegar, olive oil and mustard. Season with lime juice, salt & pepper. If you like you can also add some honey to the dressing but if you are using a sweeter mustard that may not be necessary.

Serve this cold tomato sauce on your favorite pasta topped with freshly grated parmesan and toasted sunflower seeds.

* It works perfectly well with other kinds of vinegar such as balsamic, apple cider or white whine vinegar.

This article was originally published at EcoSalon, August 21 2012 

See related recipe, Tomato sauce


How to Make Kefir

My temporary landlord Russell Busch, who is also a good friend, just introduced me to kefir making. Kefir is a fermented milk drink that contains plenty of healthy probiotics. To make kefir from milk you need kefir grains which are a live and active culture of yeast and bacteria.

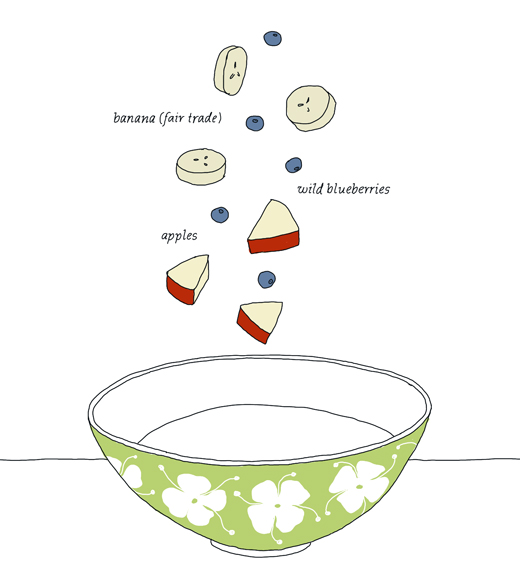
Kefir is a very common drink in Eastern Europe and the Nordic countries. I grew up with it and if I remember correctly, the Swedish kefir is thicker, more sour and has a slightly carbonated feel to it. Swedes often eat kefir (with a spoon) together with muesli, cornflakes, fruit or just with sugar and cinnamon. I like my kefir best just plain with fresh fruit or berries. Others prefer making smoothies with frozen berries and fruits as it takes off some of the strong sour flavor. Luckily Kefir has become increasungly common here in the US.

The kefir making process is super easy and you don’t really need to do much as the kefir grains do most of the work.

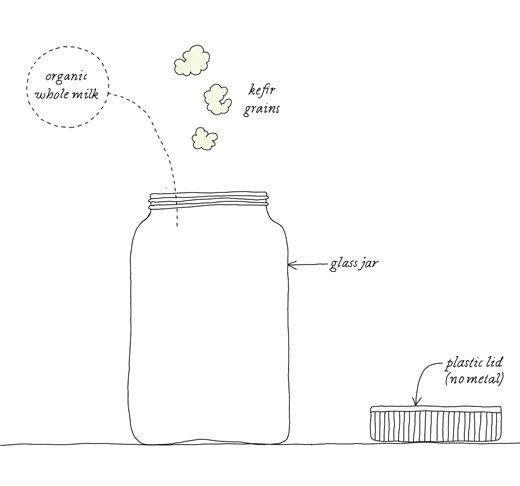
to make kefir you will need:

  • kefir grains (which you order online here or here or somewhere else)
  • organic whole milk from cow, sheep or goat
  • glass jar
  • small piece of cheese cloth + rubber band (or similar)
  • wood or plastic spoon/ spatula
  • fine mesh plastic strainer (or stainless steel)

note: no metal such as aluminum etc can be used as it will react with the kefir grains. Although, for some reason stainless steel seems to be OK.

Place the new kefir grains in a clean glass jar (about two tablespoons). Pour about 1 cup organic whole milk over the grains. Cover with the cheesecloth and fasten it with a rubber band to avoid flies (I actually just use a plastic lid that is just placed on top). Leave the jar on the counter in room temperature away from any sun.

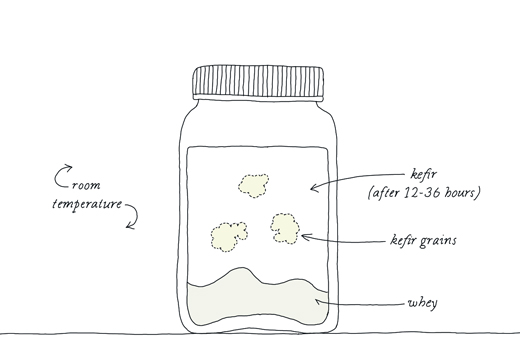
When the kefir has got thicker the kefir is probably done. It should smell pleasantly and have a mild sour taste. At this stage you will have a drinkable kefir. If it stays longer the kefir will start to separate the curdled milk from the whey. Don’t worry, the kefir is still fine, however it will be slightly thicker and have a richer taste. A longer fermentation will also create more probiotics and less lactose. The fermentation will take about 12-36 hours.

When you think you are ready, give the jar a shake and drain it through the plastic strainer to separate the kefir from the grains. It’s important to be gentle with the grains so don’t press them too hard. The kefir grains don’t have to be totally clean from curds for the next batch. The ready-made kefir can be stored in the fridge, preferably in a glass container. It will keep fresh for awhile. If you think the kefir is too loose you can strain it to reduce some of the whey. Leftover whey can be used for many things (see below).

next batch
Prepare the next batch by placing the strained kefir grains into a clean glass jar. This time you should add a little more milk and the fermenting process will probably go faster as the grains have grown larger and become more active.

The more kefir you make the bigger the grains will grow, you will therefore need to adjust the amount of milk depending on their size. At some point you need to split the grains up as there is a limit on how much kefir you can make. I suggest giving some grains to a friend or start making other things with it. You can, for example, make kefir drinks by using almond, soy or coconut milk instead of regular milk. In this kind of process the grains will not grow and therefore not last as long. I haven’t tried it yet but my landlord makes coconut kefir drinks daily.

what to do with the kefir
There are many other things you can do with the kefir if you don’t just want to drink or eat it. Kefir is excellent in dips, dressings, cakes and bread. It can also be used instead of yeast when baking bread or at least that’s what I’ve heard.

Recently I made my own cream cheese or rather fresh cheese by straining the kefir from the whey through a clean kitchen towel or several layers of cheese cloth (takes about 24 hours). This creamy cheese can be served plain or flavored with fresh herbs, garlic or anything you like. Its also great to make pierogi leniwe (Polish lazy pierogi).

You can do many things with the whey such as ferment vegetables, sauerkraut (cabbage) and when diluted 5 times with water it can be used as a fertilizer for your plants. For about a week I collected the leftover whey to make ricotta. I was amazed how well it worked out as the whey just looks like cloudy water.

storing the kefir grains
At some point you may want to have a break in your kefir making and it’s actually possible to store the kefir grains with some milk in your fridge. Just feed them with new fresh milk every now and again. When you start again the grains may not be as active as before the break, so you probably have to start again with just a small amount of milk.

 This article was 1st published at EcoSalon, 31 July 2012